1 - Requirements
You need the following softwares to run Pimp my Log :
- A web server (*Apache*, NGINX,*lighttpd*, IIS, ...)
- At least PHP version 5.2
- Log files readable from the web server
That's all ! No database, no dependencies, ...
2 - Installation
2.1 - From GIT repository
Log into the server where you wish to install Pimp My Log
Move to the directory where you wish to install the source (
/var/www/htmlfor example)Clone the repository
git clone https://github.com/potsky/PimpMyLog.gitGo it! Pimp My Log is available at http://server_ip/PimpMyLog/
Beta
As it stands, there are two branches of interest:
master: this reflects tagged stable releases as found in the .tar.gz or .zip downloads. Use this if you want a stable system.beta: the branch under active development. Use this if you want the latest but possibly unstable updates.
Warning
Avoid switching from a branch to an other because the configuration file is only upgraded and never downgraded. So you could have a master code with a beta configuration file...
To install the beta version, clone the beta branch from the repository (git clone https://github.com/potsky/PimpMyLog.git -b beta) instead of the full repository. In the configuration file, change the PIMPMYLOG_VERSION_URL as explained here to check for beta updates.
Update
To update Pimp My Log, simply go to the root directory and pull the code :
$ cd /var/www/html/PimpMyLog
$ git pull
User files are defined in the .gitignore file and are not overridden.
2.2 - With composer 
Log into the server where you wish to install Pimp My Log
Move to the directory where you wish to install the source (
/var/www/htmlfor example)composer require "potsky/pimp-my-log"Go it! Pimp My Log is available at http://server_ip/vendor/potsky/pimp-my-log/
Note
You can point your virtual host root to the
/vendor/potsky/pimp-my-logdirectory, all assets are in this folder.
Customizations
When installing with composer, all user custom files are located in the root directory of composer and not in the root directory of Pimp My Log as it is with other installation ways.
/composer.json
/composer.lock
/config.auth.user.php     <-- Authentication database
/config.user.d/...        <-- Pimp My Log secondary configuration files
/config.user.php          <-- Pimp My Log main configuration file
/css/
/css/config.inc.user.css  <-- Custom CSS file
/vendor/
/vendor/potsky/
/vendor/potsky/pimp-my-log/
/vendor/potsky/pimp-my-log/index.php
Versions
Install the latest stable version:
composer require "potsky/pimp-my-log"
Install the latest pseudo stable version (not still released officially):
composer require "potsky/pimp-my-log" "dev-master"
Install a specific version:
composer require "potsky/pimp-my-log" "v1.6.2"
Install a specific major version:
composer require "potsky/pimp-my-log" "~1"
Install the beta unstable version:
composer require "potsky/pimp-my-log" "dev-beta"
Update
Just do it:
composer update
2.3 - From archive
Log into the server where you wish to install Pimp My Log
Move to the directory where you wish to install the source (
/var/www/htmlfor example)Download the latest version and install with zip file:
$ wget -O pml.zip https://github.com/potsky/PimpMyLog/zipball/master && unzip -o pml.zip && mv potsky-PimpMyLog-* PimpMyLog && rm pml.zip
or tarball file:
$ wget -O - https://github.com/potsky/PimpMyLog/tarball/master | tar xzf - && mv potsky-PimpMyLog-* PimpMyLog
- Go it! Pimp My Log is available at http://server_ip/PimpMyLog/
Update
You must backup your configuration files before updating:
$ destination="/tmp/PimpMyLog-backup"
$ mkdir -p $destination/{css,cfg}
$ cd /var/www/html/PimpMyLog
$ for file in config.user.d config.user.json config.user.php css/*.user.css cfg/*.user.php; do
    cp -rf $file $destination/$file
done;
- Download the Pimp My Log archive
- Extract
- Replace all backed up files as in the installation process
3 - First configuration
At the first launch, if you have not configured manually Pimp My Log, the configurator will be displayed. In most of case, you will just have to click on Ok or Continue buttons.
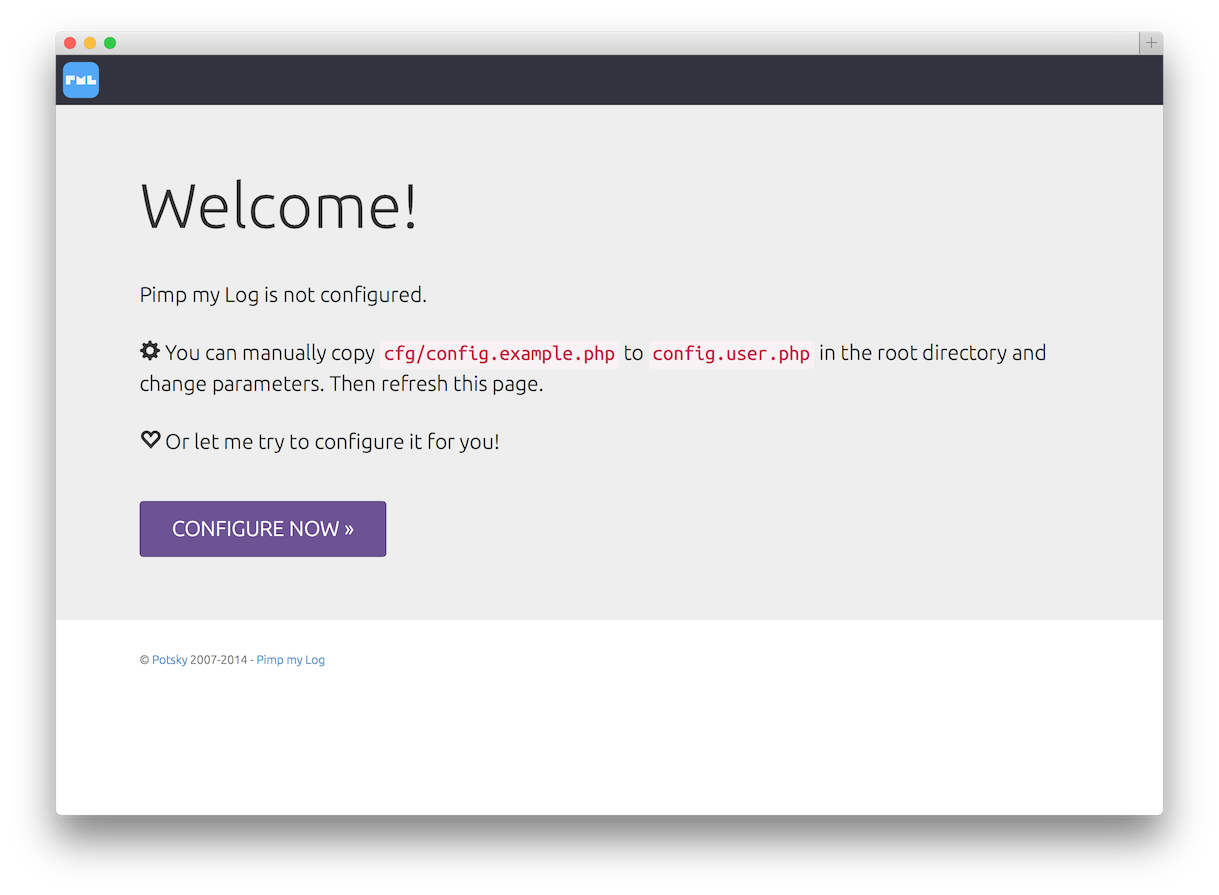
Click on the Configure now button.
Note
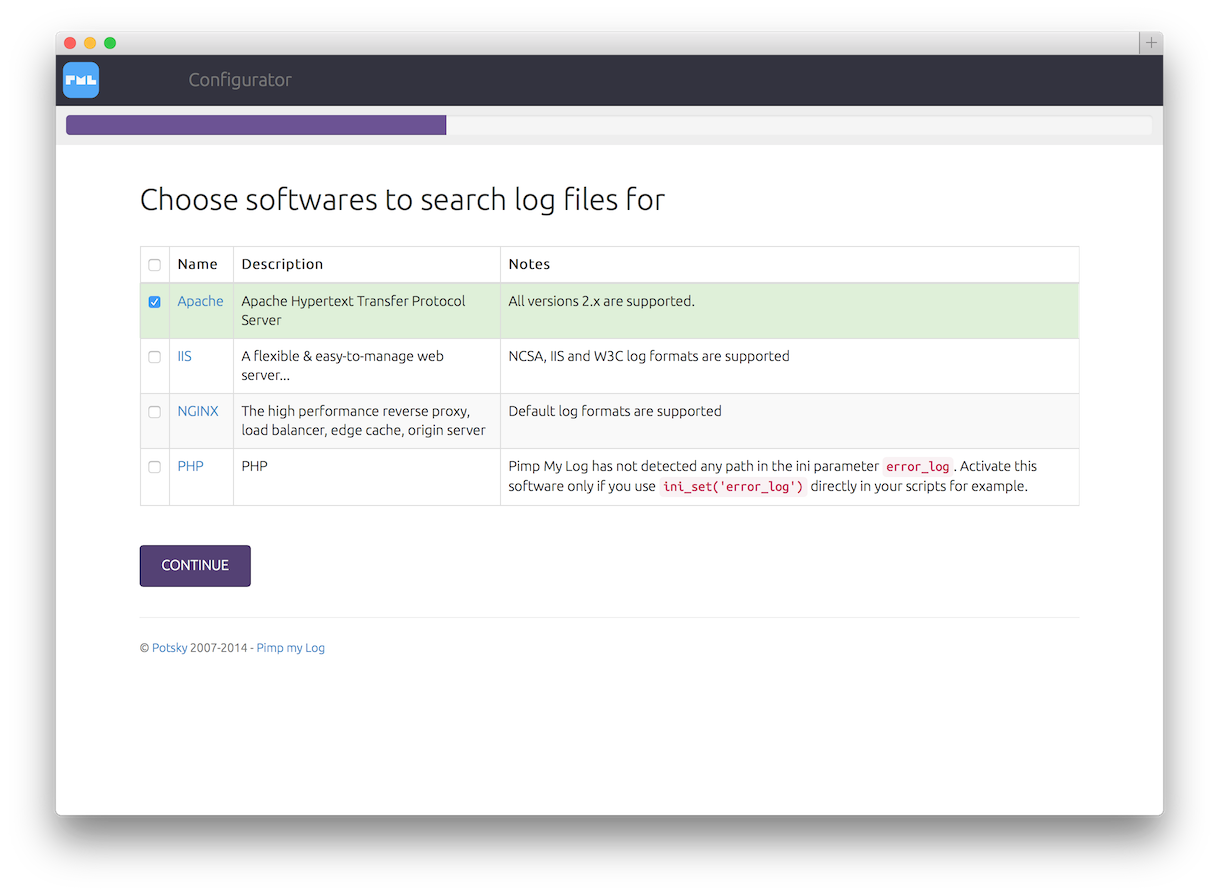
The configurator will try to detect your current web server and select by default logs for it.
It tries to detect some PHP special logs too.
You can manually select other softwares.
Pimp My Log configurator supports :
- Apache :
- NCSA log formats
- IIS :
- IIS log format
- NCSA log format
- W3C Extended log format with custom fields
- NGINX :
- default log formats
- PHP :
- default log formats generated by setting the
error_logini parameter
- default log formats generated by setting the
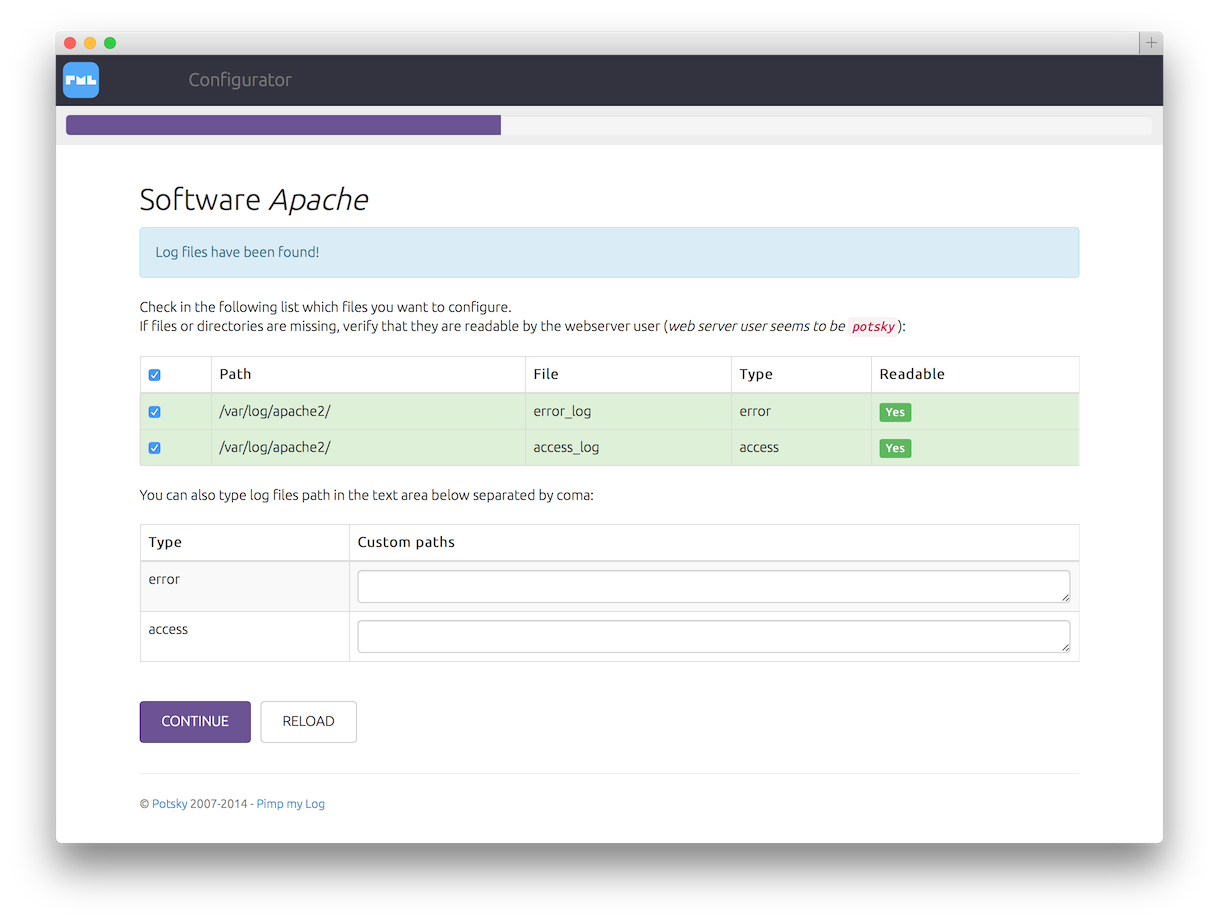
The configurator will look for log files in common locations and will show you all log files found. They are all selected by default but you can select which files you want. If Pimp My Log cannot find log files while your are sure that there are in a common location:
- please read the next paragraph
- open a ticket on support.pimpmylog.com and specify:
- your operating system
- your server type and version and how you have installed it (package manager, manually, etc...)
- where are located your server log files
You can also specify custom paths in textareas below for:
- error logs
- access logs
Click on the Continue button.
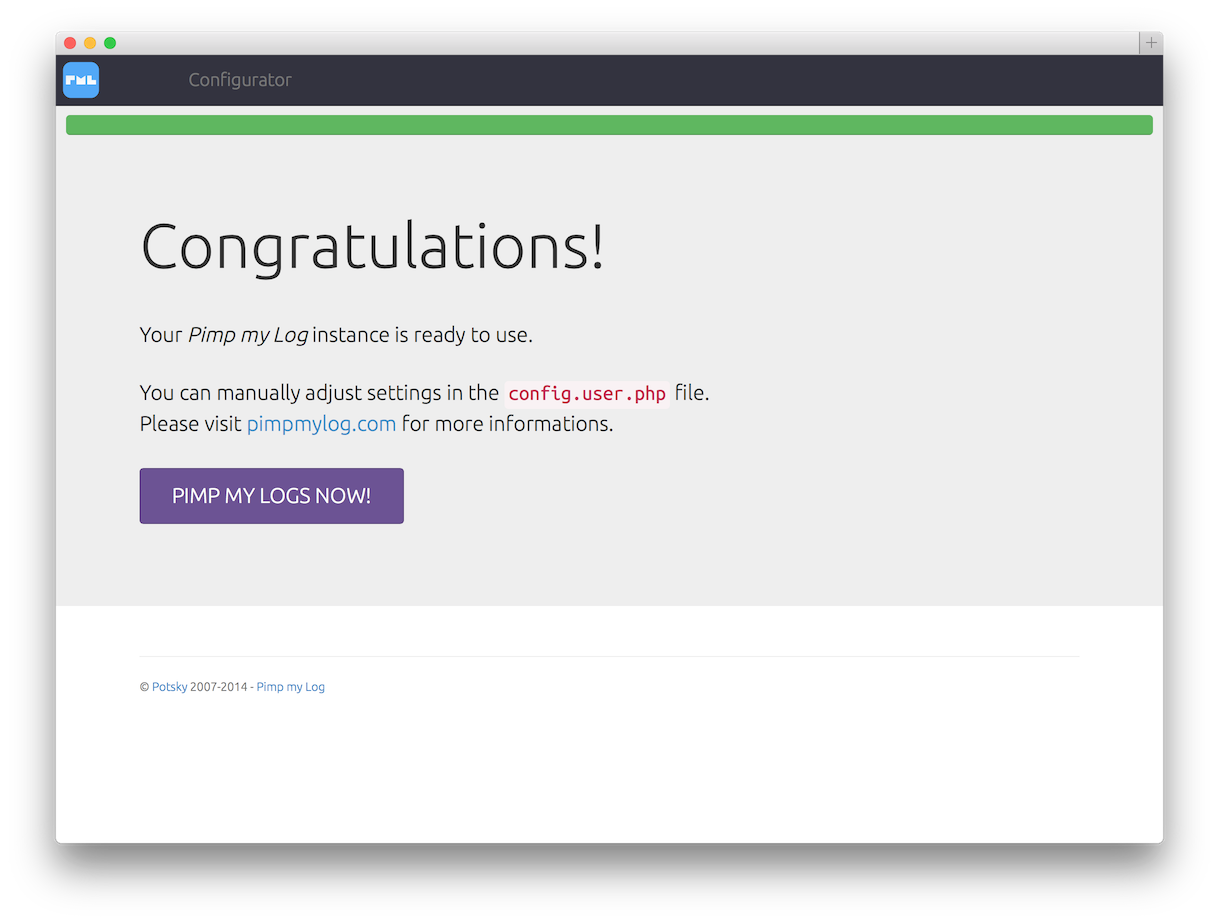
Got it! Your Pimp My Log instance is configured and ready to use. Click on the Pimp my Logs now! button.
4 - Read access
Pimp My Log needs a read access to log files you want to display. So log files have to be reached by your web server user. In the following example, let :
apachebe the web server user on an UNIX system/var/log/httpd/access_logbe the path of the apache access log file
Then the command (ran as root on the server) sudo -u apache ls /var/log/httpd/access_log must return /var/log/httpd/access_log and not an error.
If this command fails, the webserver user has not access to the log file and Pimp My Log will not be able to read it.
Don't forget that to read file /var/log/httpd/access_log, these directories must be reachable (flag x in a chmod) by the web server user :
/var/log/httpd//var/log//var//
If you change log files access via a chmod command and lose these changes after several hours, days, ... verify that logrotate (or similar rotation log system) is well configured! There is an option in logrotate to set default rights on the new files.